Hey you! Do you like recording guitar at home? If so, STOP whatever you’re doing and LISTEN UP!
Here at Spectre Digital, we see many people making the same mistakes over and over again, and we want to make sure that your guitar recordings are up to snuff!
Here’s 10 things you can do to get better guitar recordings:
1. MAKE SURE YOUR GUITAR IS IN RECORDING SHAPE
This is by far THE most important aspect you have to watch out for! Before you even hit the record button, take a serious look at your instrument and figure out if it’s even capable of getting a signal to your DAW without any issues. Are the electronics functional? Is the guitar properly intonated? Are your pickups microphonic? These are all things you need to take into consideration before you start tracking your masterpiece.
2. MAKE SURE YOUR STRINGS ARE FRESH
Or at the very least not corroded to shit. Why is this so important? Well, for starters, good strings are going to stay in tune. Tuning is absolutely crucial for recording guitars, especially for high gain metal! Furthermore, old strings are going to lose quite a bit of clarity, meaning you’ll be stuck with a dull sound. Clarity that you’re going to end up trying to add in with EQ. Let’s be clear here: An equalizer CAN turn up certain frequencies, but those frequencies have to be there to begin with! When you boost your EQ to try and bring some clarity to your sound, you’re only going to end up making things worse. Do yourself a favor and use good strings. Get the sound right at the source!
3. FOAM BEHIND THE BRIDGE & NUT
Much like the obnoxious bells of your local church, guitar strings have a habit of ringing at the worst times. At first glance, that ringing may not seem like a bit deal. Make no mistake, it’s VERY MUCH a big deal! Fortunately, there’s an easy fix. All you have to do is take a small piece of foam and tuck it under the string behind the nut and presto! No more ringing! If you don’t have any foam, a hair tie, or any small strap can do the job. You can also do this on the bridge, but don’t over do it. Too much dampening at the bridge can lead to some pretty bad sustain issues. At the end of the day, it’s all about trade-offs and the trick is to experiment. See what gets you the best results and go from there.
4. GET A DI BOX
» But aren’t the Hi-Z inputs on my interface enough? «
Sure! The instrument inputs on your interface are more than capable of getting the job done. But depending on the interface you’re using, those DI inputs can certainly impact the sound of your guitars. Small, two-channel interfaces are dirt cheap nowadays, and manufacturers have to cut costs somewhere. Those cut costs might just end up being your interfaces instrument inputs.
So instead of playing the guessing game with something that could potentially be of questionable quality, go get yourself a dedicated direct box! What do they do? A direct box is going to convert your guitars unbalanced high-impedence signal into a balanced low-impedence signal.
But why should you spend the money on one? Simply put, a good DI box will most likely outlast your interface, and it will allow you to bypass your interfaces DI, giving you a much cleaner signal.
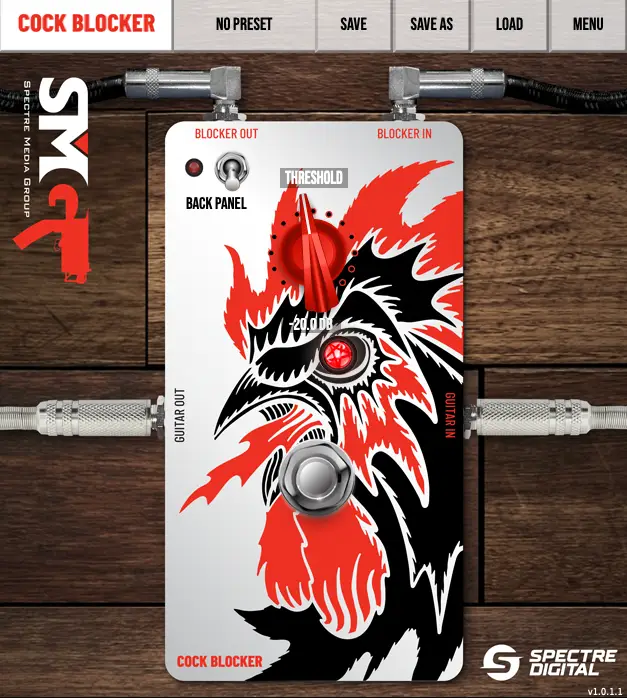
In short, a good, clean DI signal is invaluable for recording guitar. Not only does it allow you to re-amp your tracks down the line, but they can also be used to clean up a guitar recording with awesome plugins like the SMG Cock-Blocker Noise Gate.
Be sure to download the two-week free trial when you’re done reading this. You won’t regret it!
5. SET YOUR LEVELS RIGHT
Plug your guitar into your interface/DI box, open up your DAW and start hitting the strings. Hit them HARD! Play some heavy chugs or strum some chords and start dialing in the gain knob on your interface. We don’t want to track the signal so hot that we’re clipping, but we also want to actually see the waveform. Your best bet is to make sure your signal peaks out at around -6db when you hit the strings hard. Aim for that and you should be good to go!
6. DOUBLE/QUAD TRACK
You might think this is just common sense, and you’re right! However, we’ve seen this problem come up time and time again, especially with people who are just starting out. When you’re recording rhythm guitars, you’ll want to record them twice, or even four times. Once they’re recorded, we can pan them in the stereo field to create a massive and wide sound.
A cool trick you can do to make your guitars appear even wider is to use slightly different settings on your guitar tracks. Tweak the amp eq slightly differently for both sides, move the microphone a few millimeters, or even use two different guitars. This way, you won’t run into the cursed »Big Mono« effect.
7. TUNE AFTER EVERY TAKE
This is a discipline you simply have to get used to. Unless you want your face-melting rhythm tone to sound like it’s going through a shitty chorus pedal, make sure you tune your guitar after every take! Sure, with rock n’ roll it might not be a big deal, but this is METAL. We want our sound tight and precise! Seriously, tune after EVERY take, and if you don’t, Glenn Fricker will appear in your bedroom and yell at you at ear-splitting volumes!
8. WATCH OUT FOR INTERFERENCE
This is something we’ve all experienced at some point. We plug in our guitars, set up our amp sims, and suddenly, there is a weird noise coming through the speakers. That noise is usually RFI (Radio-frequency interference) or EMI (Electro-magnetic interference), and it can be a pain in the ass to deal with. Especially if you DIDN’T notice it while you were recording because you had your noise gate turned on!
Before you play, arm your track for recording and listen for a minute or two. If you find that you’re picking up a lot of interference, you’re going to have to find a way around it. For one thing, TURN OFF YOUR PHONE! Or at least set it to airplane mode. If your phone isn’t the issue, try playing a few feet away from your computer. Being that close to a running machine can definitely be an issue, and yes, even the RGB in your gaming mouse and keyboard can cause interference.
9. USE THE PROPER FILE FORMAT
Make sure you’re tracking at 24-bit, and AT LEAST 44.1Khz. This is pretty cut and dry stuff. Whether it’s for your own project, or you’re intending to send it to someone for mixing, always record at 24-bit. 24-bit recording not only gives us more headroom, but it significantly lowers the noise floor. Trust us, you’ll save yourself a number of headaches and angry phone calls down the line!
10. DON’T DWELL ON THE TONE
When you’re recording, don’t waste time dwelling on the perfect tone. You’re doing just that! RECORDING! Don’t waste those precious hours dialing in an amp sim, just choose a preset and start tracking! Remember, you can always dial in the sound after you’ve nailed your takes. As simple as recording seems, it can be a very stressful process. We’ve all experienced the nightmare that is Red Light Syndrome. We play so well that Yngwie Malmsteen himself would blush, but as soon as that record button is armed, we freeze and mess everything up.
What’s the point? Don’t add additional layers of stress to your process, or you’ll burn yourself out before you’ve finished recording half the song!
Oh, and if you’re having problems dialing in your tone, check out Scott Elliot’s Guitar Tone Mastery course at Spectre Digital! But only after you’ve finished tracking your guitars…